For Admins- How To Use The "Sign Ups" Feature
The “Sign-Ups” feature can be used to coordinate group efforts for organizing volunteer shifts, assignments, bringing items, or gathering feedback and voting.
The process is to first create a New List, and then to create the Sign Ups that are organized underneath the List.
To create a Sign-up:
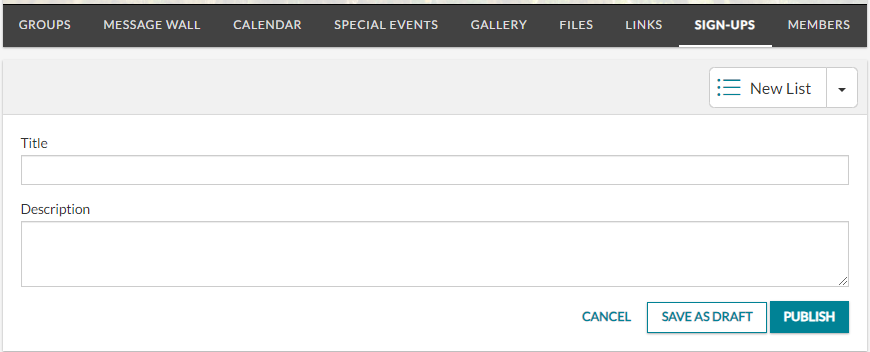
- Click “New List”.
- Type the Title for the Sign-Up List.
- Type a Description with details for the Sign-Up List.
- Click “Save As Draft” if it is not ready to be published and accessible by Rally members.
- Draft Lists can be accessed by clicking the drop-down menu next to “New List” then clicking “Draft.”
Click “Publish” if you are ready to share it with Rally members.
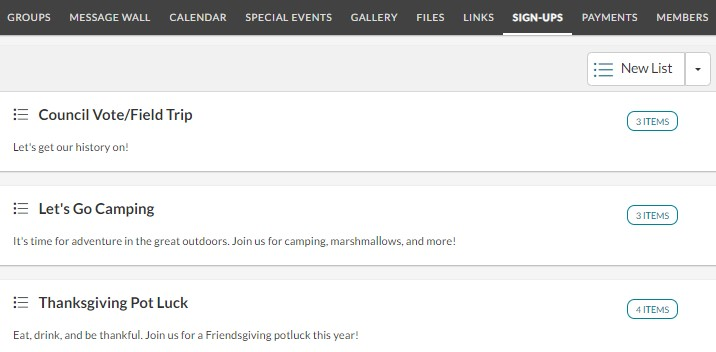
Now that you created the “Sign-up List,” you are ready to create your “Sign-Up Options.”
Simply click “New Sign-Up” on the top right of the page to create different options like shifts or slots.
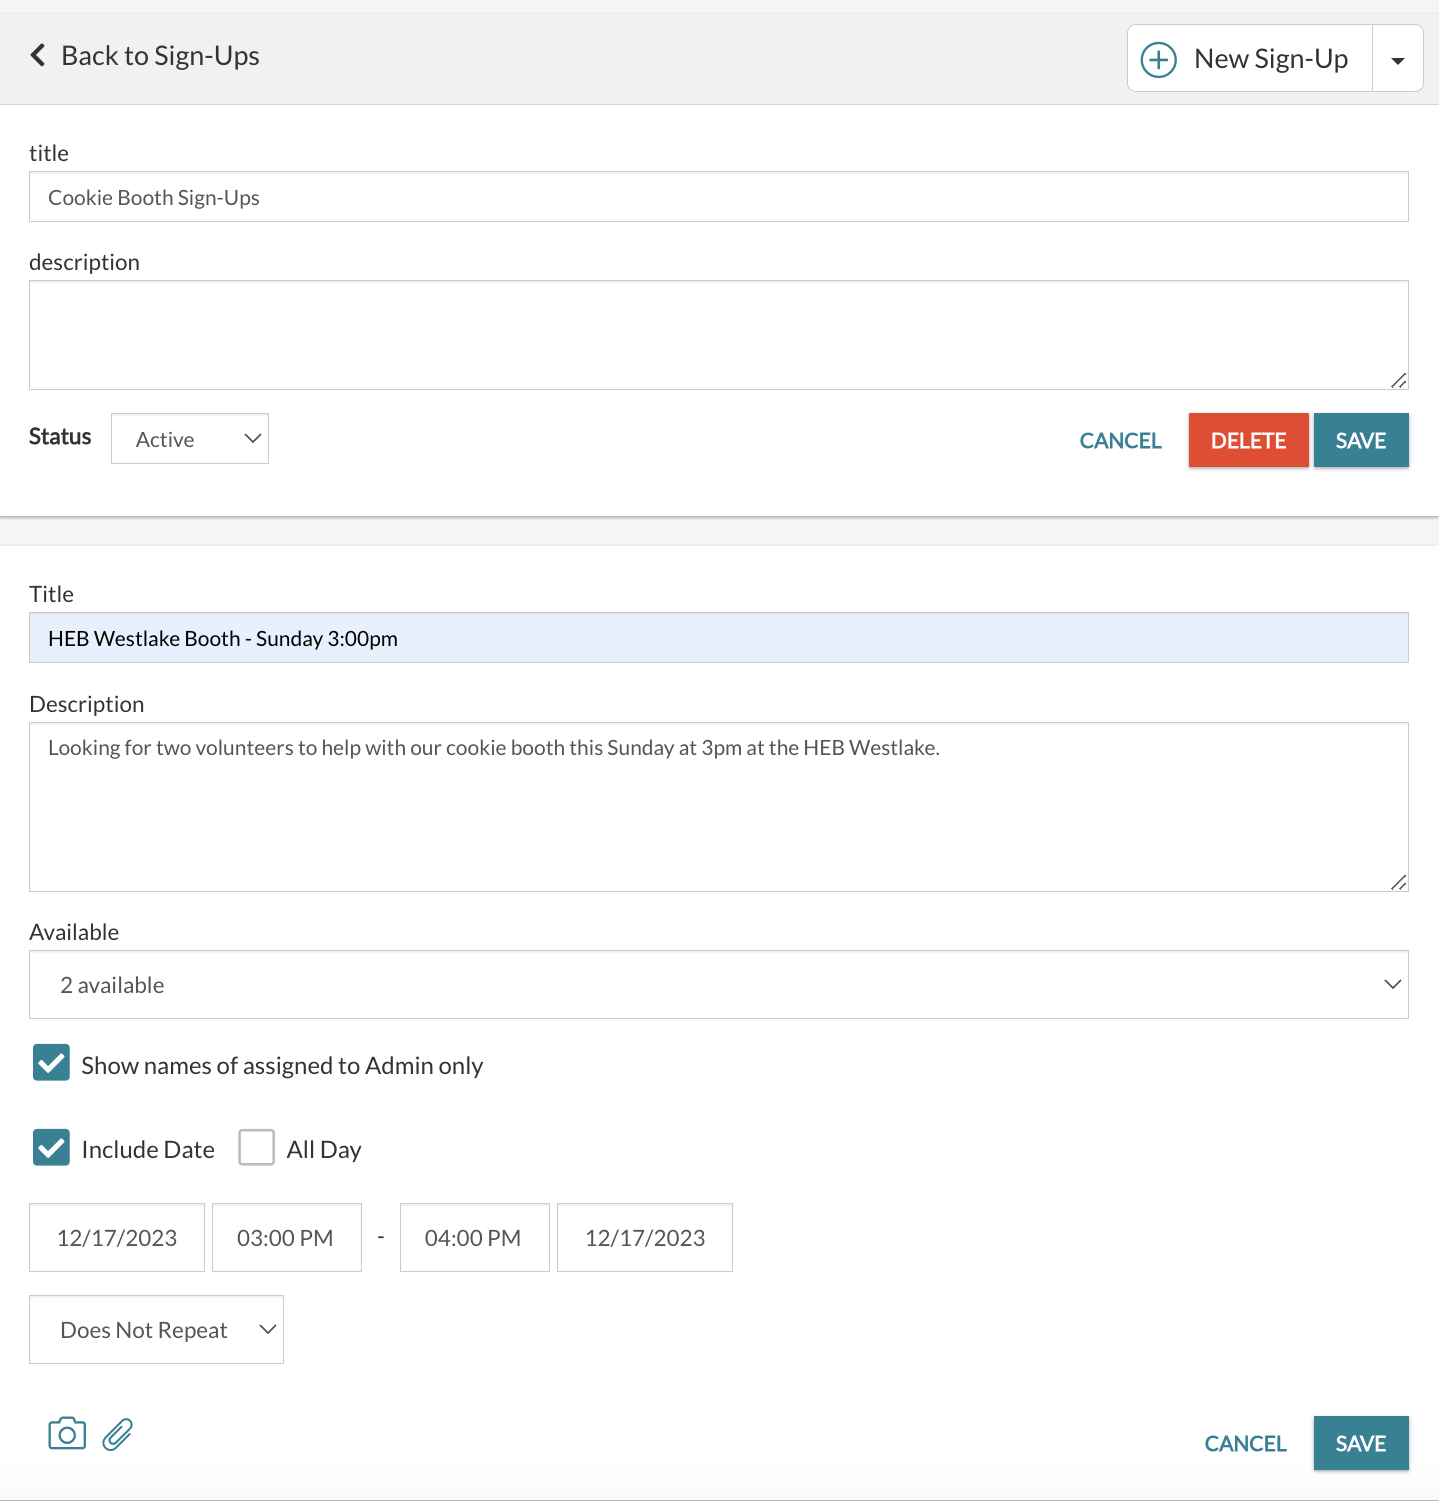
- Type a Title of the option (e.g. shift #1 or slot 3pm-4pm).
- Type a Description.
- Set the number of available slots or shifts or set to “No Limit” which is good for voting or polling scenarios.
- Click the box to choose whether to “Show names of assigned to Admin only” or not:
- Leaving the box unchecked will keep the names visible to all members of the Rally..
- Checking the box will keep names hidden to everyone except Rally Admins.
- Check “Include Date” if the Sign-Up is for a specific date:
- Set the Frequency; the default is “Does Not Repeat”
- Click the down arrow to set details for a recurring event.
- Set the Frequency; the default is “Does Not Repeat”
- Attach an image or file to the Sign-Up.
Click “Save” to publish the new option underneath the
Sign-up LIst.
Once a Sign Up List is created, you have additional actions for viewing.
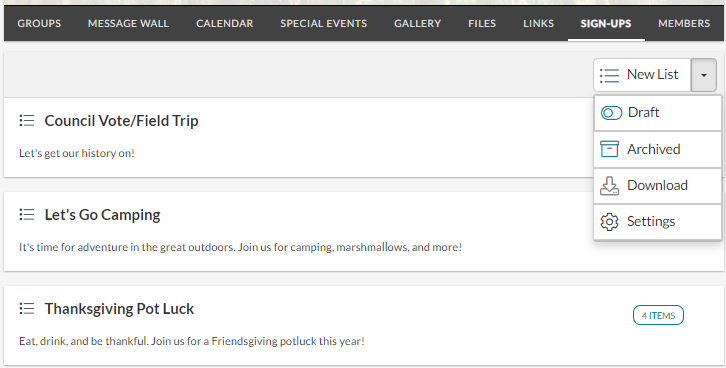
Click the drop-down arrow next to the “New List” button to do the following:
- Sort the sign-up list to view only the ones in Draft mode.
- Sort the sign-up list to view only the ones that are Archived.
- Download a sign-up list.
- Admins can also see a “Settings” option to adjust the Sign-Ups Feature settings.
Removing Yourself from a Sign-Up List
- Click on "Sign-Ups" on the left-hand navigation menu.
- Select the name of the Sign-Up list you want to access.
- Click on the Sign-Up item you want to un-assign yourself from.
- Click on the orange box in the top right corner that says "I'm Assigned."
- A drop-down menu will appear. Click on "Withdraw Myself."
- Then click "Confirm" in the new pop-up window. You will then be removed from the sign-up list.
For additional information please refer to our How To Use "Sign Ups" as on Admin tutorial video.